How to Use an Eyelash Curler and Why They’re Always in Our Makeup Bag
Eyelash curlers have become essential in many makeup routines, offering a simple way to enhance the natural shape of your lashes. While they might seem like a small step, they can make a noticeable difference to how open and defined the eyes appear.
Their popularity comes down to ease and versatility: they fit seamlessly into both minimal and full makeup looks. As with most beauty tools, it often depends on personal preference and what feels right for your routine.
Why Should You use an Eyelash Curler?
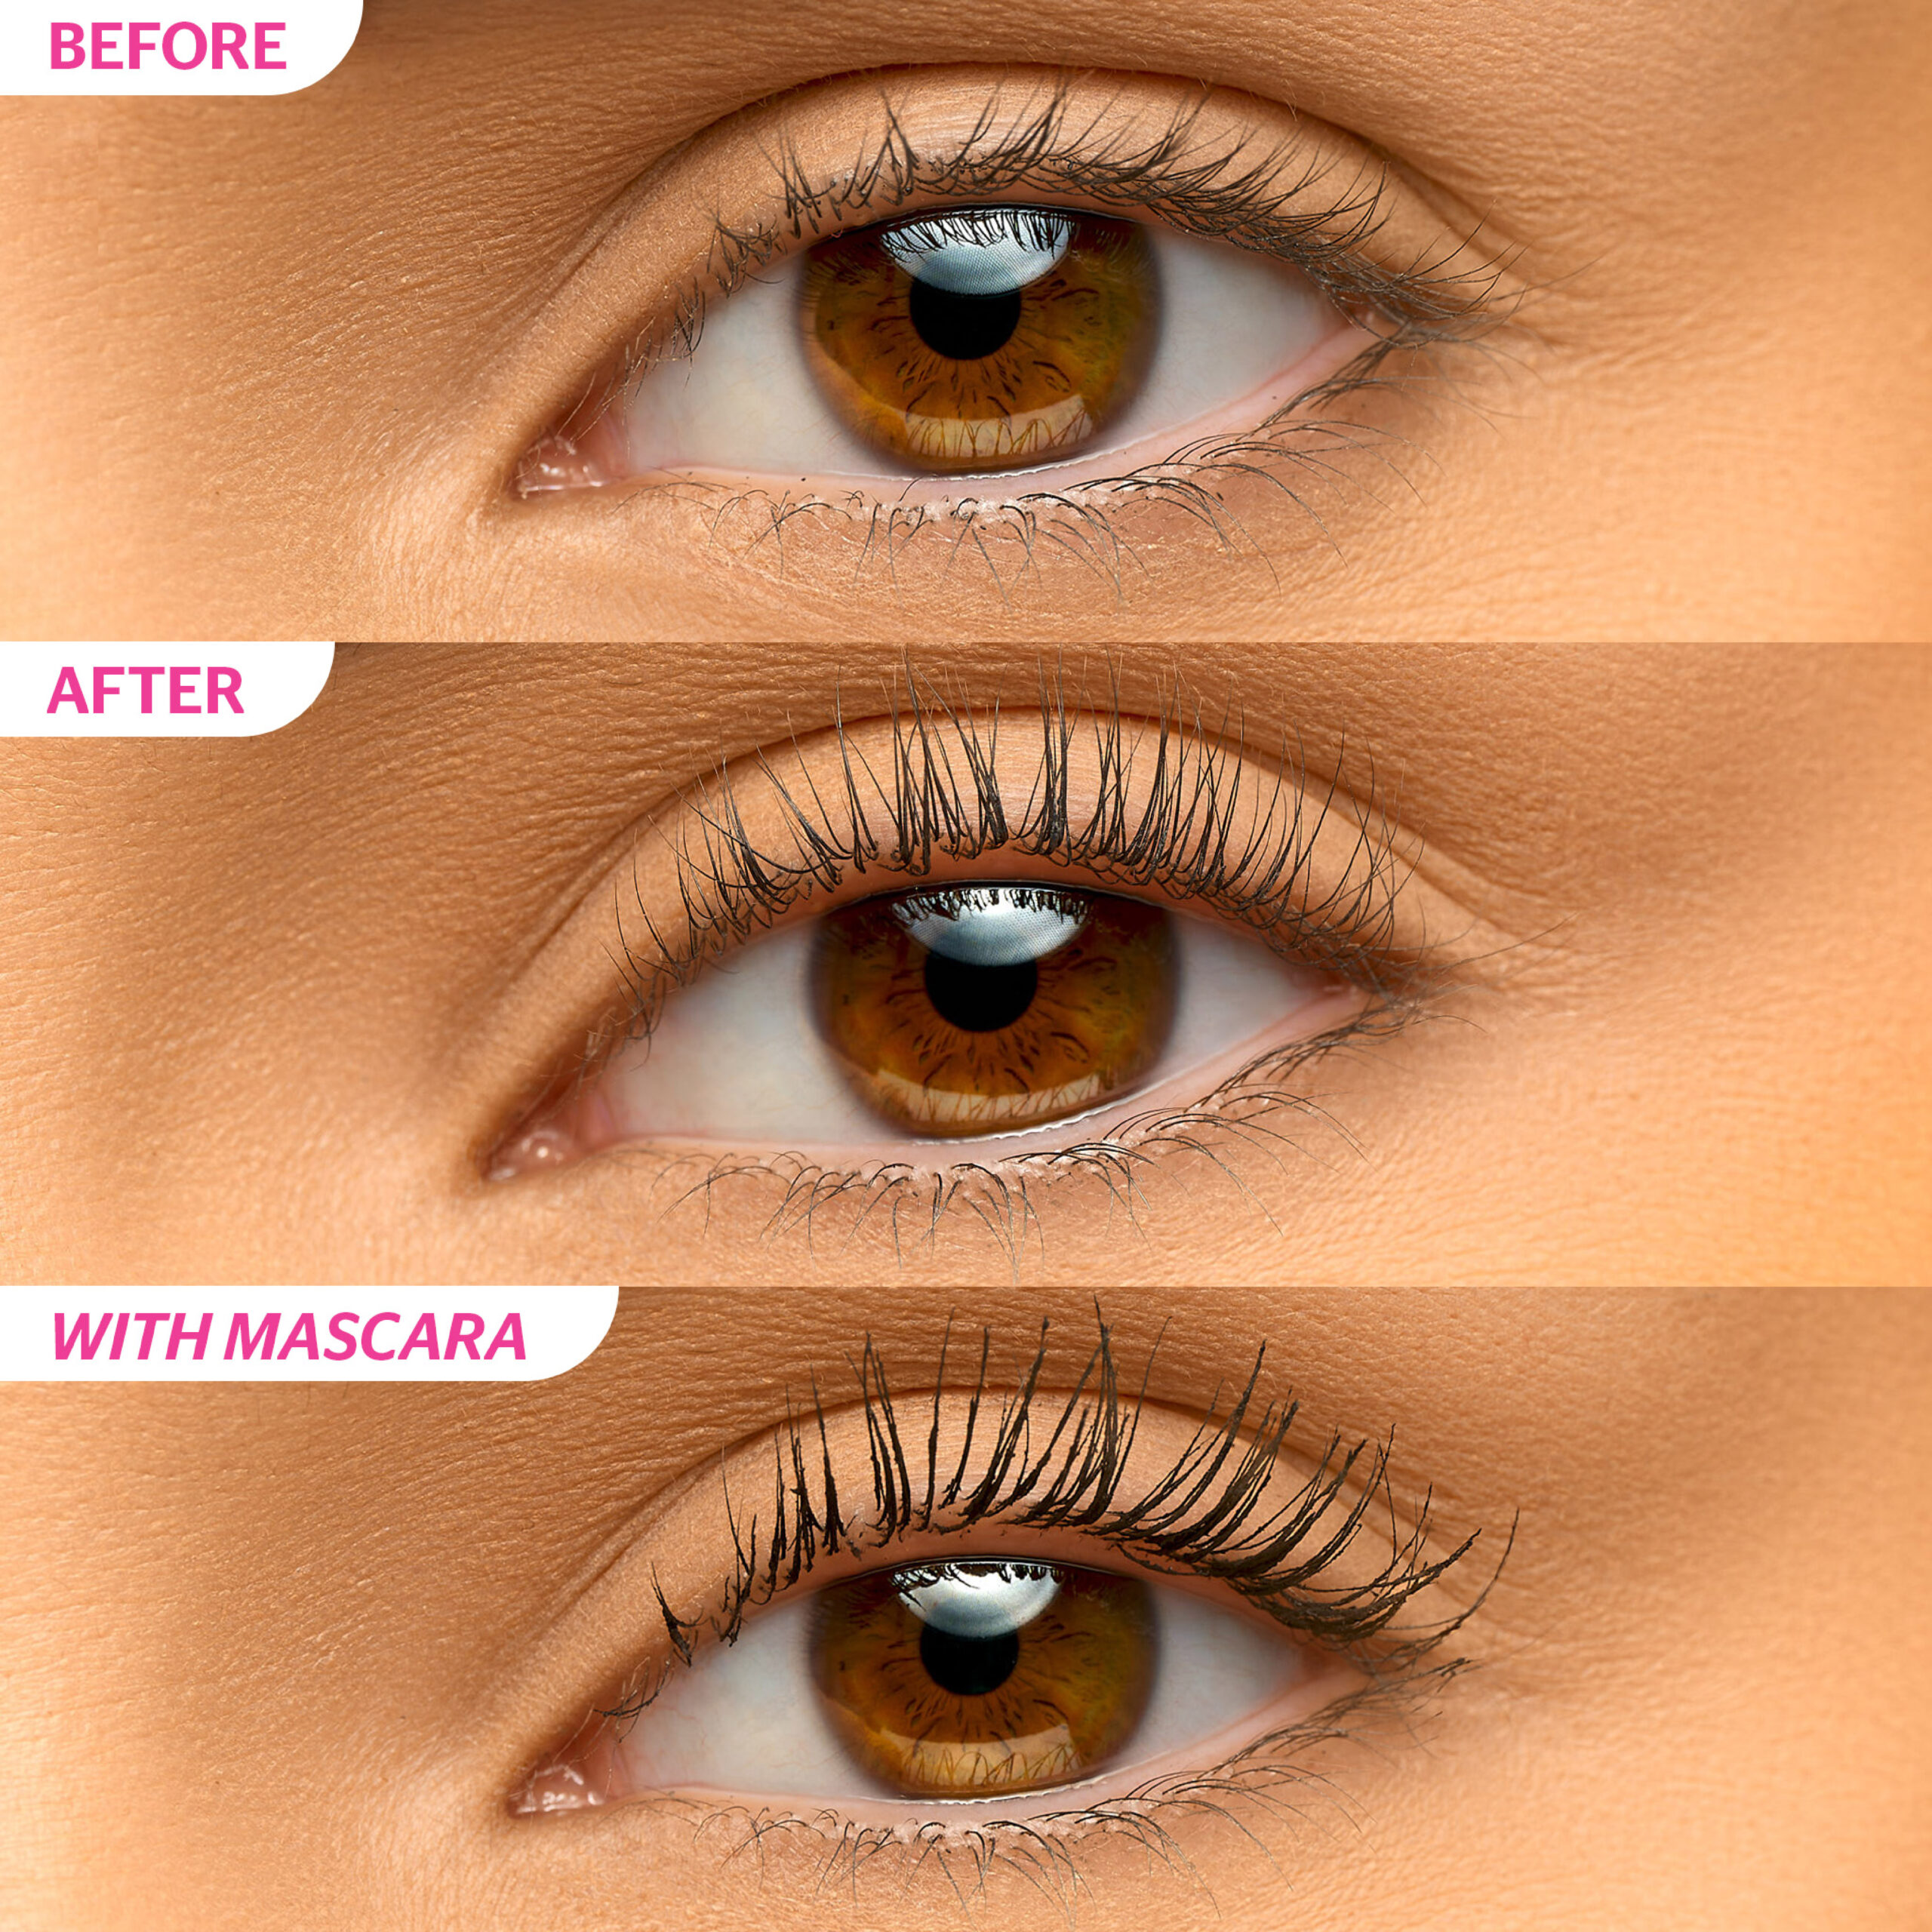
Eyelash curlers are often used to add shape and lift to the lashes, helping to frame the eyes in a subtle way. They can make lashes appear longer and more defined, while also helping mascara apply more evenly and hold its effect for longer. They can also help create a more awake, refreshed look, even on minimal makeup days, by opening the eye area without the need for additional products.

Common Eyelash Curler Mistakes That Flatten Lashes
One of the most frequent mistakes is applying excessive pressure when curling, which can create a harsh bend in the lashes rather than a smooth, natural lift. Incorrect placement of the curler, particularly when it is not positioned close enough to the lash line, can also result in an uneven or short-lived curl.
Another common issue is using an eyelash curler after mascara has been applied. This can cause lashes to stick to the pad, leading to clumping, breakage, or a flattened appearance. Additionally, failing to curl the lashes in sections, starting at the base and gradually moving upwards, can prevent the development of a more defined, fanned-out effect, often leaving the lashes looking flat and less lifted overall.
Top 5 Tips for using an Eyelash Curler
- Curl Before Mascara
- Prevents lashes sticking or breaking
- Creates a smoother curl
- Use a Good Quality Curler
- Gives a better, longer-lasting curl
- Helps avoid pulling or pinching lashes
- Pulse Gently
- Avoids harsh bends in lashes
- Gives a softer, natural lift
- Hold for 5–10 Seconds
- Helps set the curl properly
- Repeat for extra volume
- Clean It Regularly
- Removes makeup and bacteria
- Keeps the curler working effectively
How Long to Hold an Eyelash Curler for Best Results
Getting the timing right with an eyelash curler can make all the difference to the final look. Holding the curler in place for around 5-10 seconds is usually enough to create a smooth, natural lift without putting too much pressure on your lashes. For a more defined curl, you can repeat this in sections, working slightly up the lashes rather than holding for longer in one place.
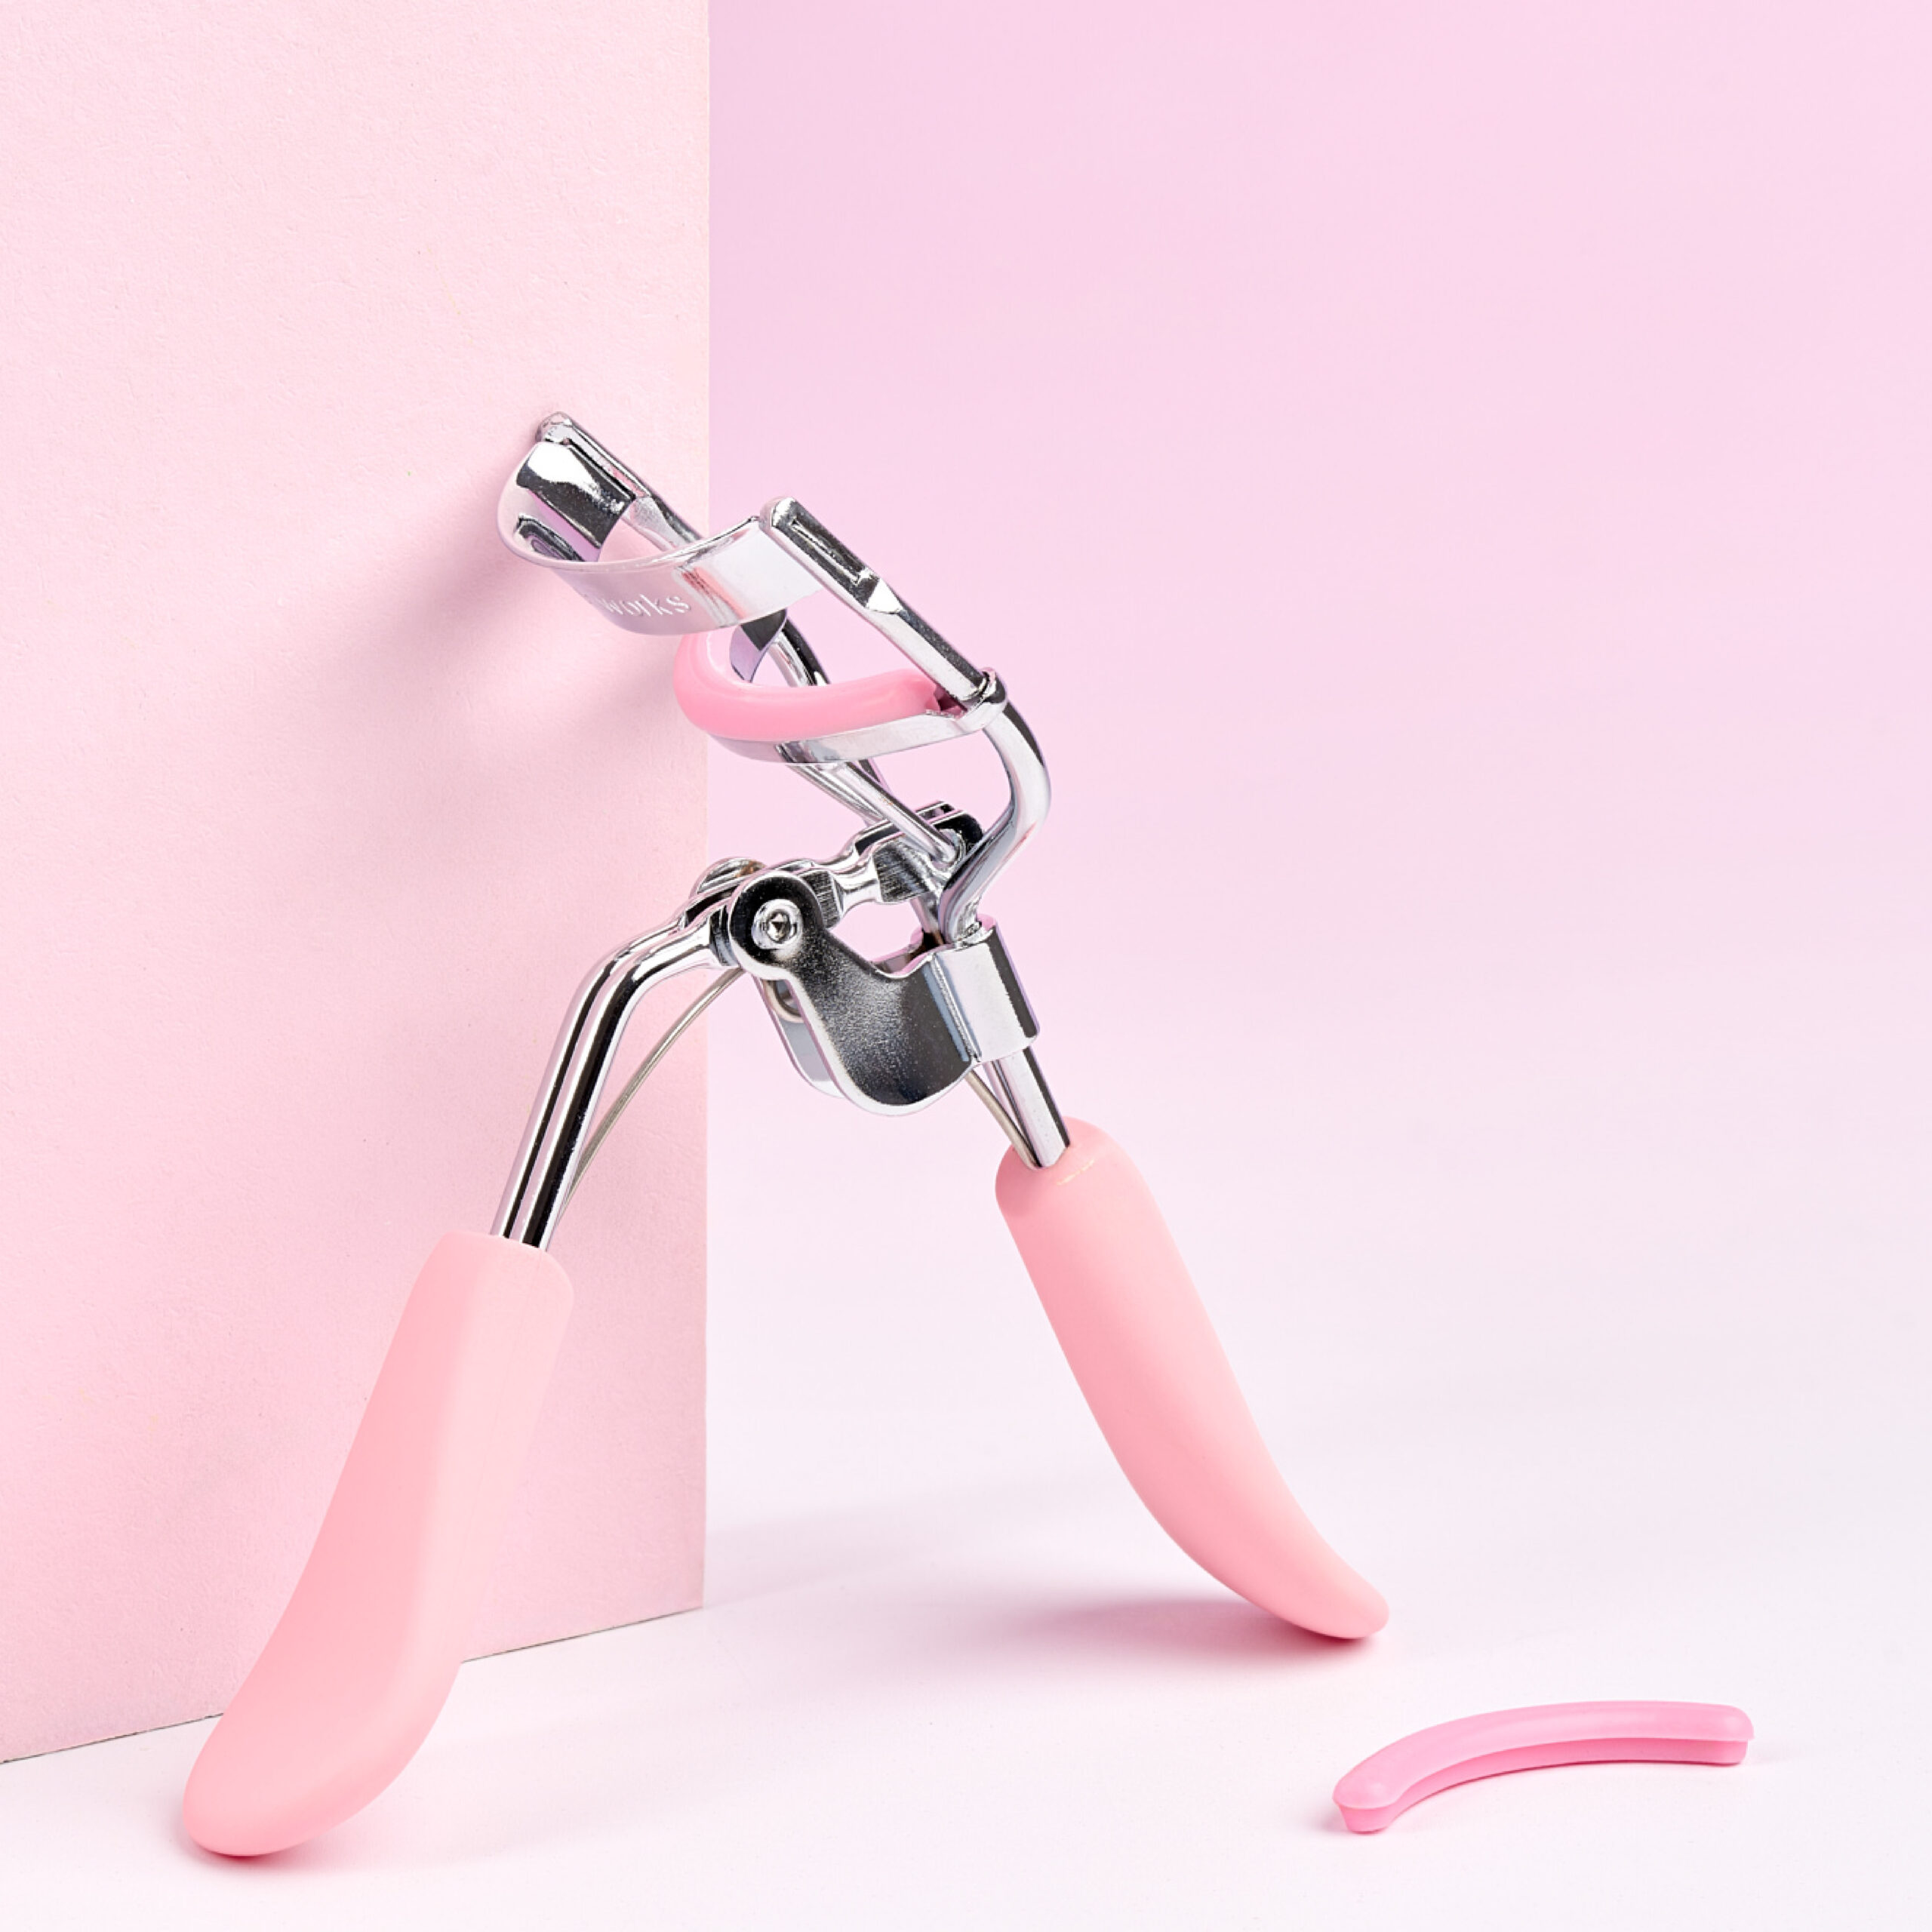
With tools like the Brushworks Eyelash Curler, this process is made even easier thanks to its cushioned pad and gentle grip, helping you achieve a comfortable, pinch-free curl that lasts. Designed to suit all eye shapes, it allows you to build a lifted, fanned-out effect effortlessly; whether you’re keeping things natural or going for a more elevated look.
Discover our complete collection of Eye & Brow Tools – everything you need to shape, define, and perfect your look!